Sculpey Oven Bake Clay is a popular polymer clay brand, offering durable, versatile, and easy-to-use materials for crafting. It hardens in a home oven, creating long-lasting pieces.
What is Sculpey Oven Bake Clay?
Sculpey Oven Bake Clay is a type of polymer clay designed for crafting and artistic projects. It is an oil-based material that hardens when baked in a home oven. Known for its durability and versatility, Sculpey clay is widely used for creating jewelry, miniatures, decorative items, and more. Unlike air-dry clays, it requires precise temperature control to cure properly. Sculpey clay is popular among crafters due to its ease of use, vibrant colors, and ability to blend and shape before baking. It is available in various formulations, such as Original, III, and SuperFlex, each offering unique properties for different creative needs. Once baked, Sculpey clay becomes a long-lasting, professional-grade material suitable for both amateur and professional projects.
Benefits of Using Sculpey Oven Bake Clay
Sculpey Oven Bake Clay offers numerous benefits for crafters and artists. It is highly durable and long-lasting once baked, making it ideal for creating professional-grade pieces. The clay is versatile, allowing for intricate designs, blending of colors, and layering techniques. Its ease of use makes it accessible to both beginners and experienced crafters. Sculpey clay is available in a wide range of vibrant colors, enabling creative expression. It is also lightweight and easy to shape, reducing fatigue during prolonged projects. Additionally, Sculpey clay does not dry out when exposed to air, giving artists more time to work without rushing. These qualities make it a popular choice for jewelry-making, miniatures, home decor, and other artistic endeavors, ensuring satisfactory results for various creative projects.
Materials and Tools Needed
To work with Sculpey Oven Bake Clay, essential materials include an oven, an oven thermometer, and a workstation. Tools like rolling pins and cutters aid in shaping the clay. Additional materials such as baking sheets, parchment paper, and craft mats are recommended for smooth results. Optional accessories like molds and texture stamps enhance creativity, while adhesives and sealants provide finishing touches. Proper tools ensure ease of use and professional-looking outcomes.
Essential Materials for Baking Sculpey Clay
Baking Sculpey Oven Bake Clay requires specific materials to ensure success. A household oven or toaster oven is necessary for curing the clay. An oven thermometer is crucial for accurate temperature control, as most Sculpey clays bake at 275°F (135°C). A baking surface, such as parchment paper or a Sculpey Work ’n Bake Mat, prevents sticking. A rolling pin and sharp tools, like a craft knife or Slice, are essential for shaping the clay. Cooling racks or heat-resistant surfaces are needed for post-baking cooling. Additional items like a cutting mat and wax paper can aid in preparing and handling the clay. These materials ensure proper curing and handling of your Sculpey creations.
Recommended Tools for Working with Sculpey Clay
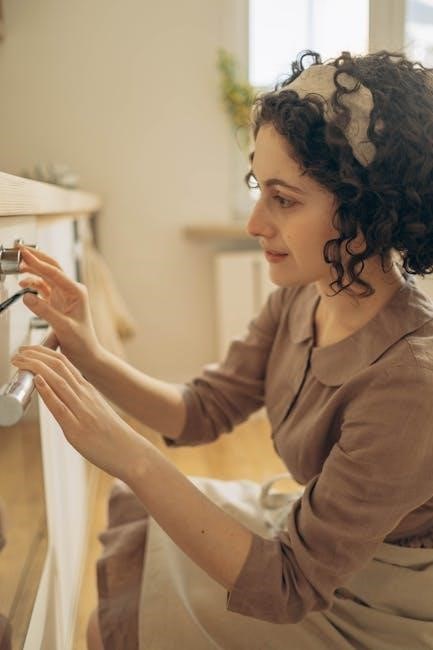
Several tools can enhance your experience with Sculpey Oven Bake Clay. A rolling pin is essential for flattening and shaping the clay evenly. A craft knife or sharp blade is useful for cutting and trimming excess clay. Clay cutters or wire slicers help in achieving uniform thickness. A shaping tool set or modeling tools can create intricate details and textures. Additionally, molds or texture stamps can add unique patterns to your designs. While optional, these tools allow for greater precision and creativity when crafting with Sculpey clay, ensuring professional-looking results and making the process more enjoyable.
Optional Accessories for Enhanced Results
To elevate your Sculpey Oven Bake Clay projects, consider using optional accessories. A Work ‘n Bake Mat provides a non-stick surface for rolling and shaping clay. Bead baking racks and metal skewers help with even baking and prevent warping. An oven thermometer ensures accurate temperature control, crucial for proper curing. Adhesives like Sculpey Bake & Bond can strengthen joints between pieces. While not essential, these accessories enhance precision, durability, and creativity, allowing for more complex and professional-looking designs. They are especially useful for intricate or multi-layered projects, ensuring your baked pieces turn out flawless and long-lasting.
Preparing the Clay
Soften Sculpey clay by kneading or using a pasta machine. Mix colors for custom shades and shape using tools like rollers or molds for desired forms.
Softening Sculpey Clay for Easy Use
Sculpey Oven Bake Clay can be softened by kneading or using a pasta machine. For tougher pieces, apply Sculpey Softener or baby oil to make it pliable. This ensures smooth handling and prevents cracking during shaping. Proper preparation is key for achieving professional results in your polymer clay projects.
Mixing and Blending Colors
Mixing Sculpey Oven Bake Clay colors allows for unique, custom hues. To blend, knead two or more colors thoroughly until evenly mixed. For marbled effects, mix partially for a swirled look. Use a pasta machine or rolling pin to blend layers. To achieve consistent tones, ensure even distribution. Experiment with ratios to create desired shades. Avoid overmixing, as it may affect texture. For faux marbling, blend colors lightly. Tools like cutters or shapers can help create intricate patterns. Always test small samples before finalizing blends. Proper mixing enhances project aesthetics and ensures vibrant, professional results. This technique is ideal for crafting personalized designs with Sculpey clay.
Shaping and Molding Techniques
Sculpey Oven Bake Clay can be shaped using various techniques to create intricate designs. Start by softening the clay with a rolling pin or pasta machine for even thickness. Use tools like cutters, molds, or household items (e.g., toothpicks, texture mats) to add details. For 3D shapes, layer or coil the clay, ensuring each layer adheres well. To blend edges, gently press and smooth with fingers or tools. For intricate patterns, roll out clay, cut shapes, and layer them. Experiment with texturing by pressing fabrics, stamps, or found objects into the clay. Always ensure pieces are evenly thick to prevent warping during baking. Proper conditioning and tool use are key to achieving professional-looking results with Sculpey clay.
Baking Instructions
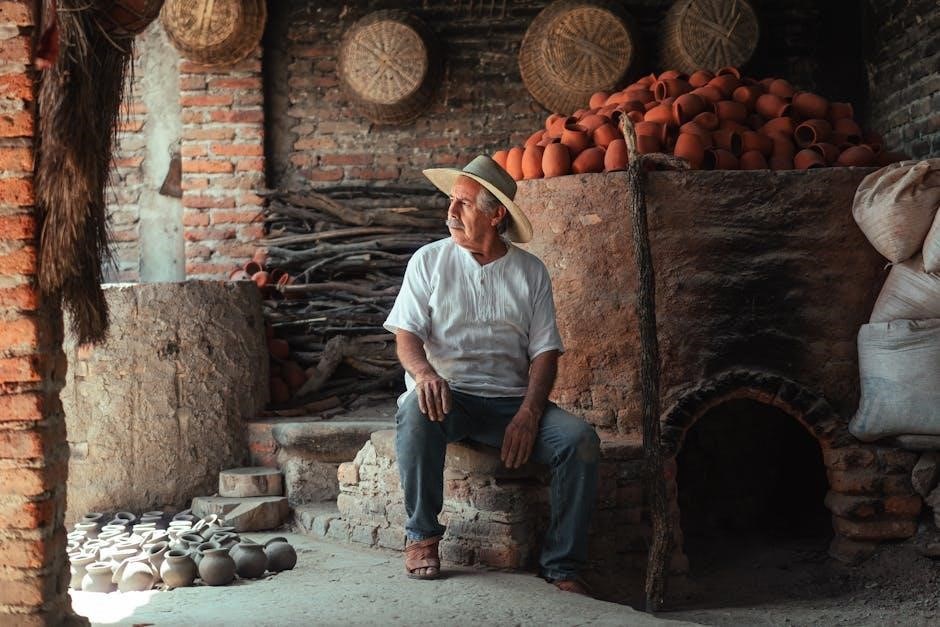
Preheat your oven to 275°F (135°C). Place Sculpey clay pieces on a baking mat or parchment-lined tray. Bake for 15-30 minutes per ¼-inch thickness. Monitor and let cool before handling.
Preheating the Oven
Preheating your oven to the correct temperature is essential for baking Sculpey Oven Bake Clay. Set your oven to 275°F (135°C) and ensure it reaches this temperature before baking. Use an oven thermometer for accuracy, placing it near the clay to monitor heat distribution. Preheating ensures even curing and prevents undercooking or warping. Avoid opening the oven door frequently during preheating to maintain consistent heat. This step is crucial for achieving properly hardened and durable pieces. Always follow the temperature guidelines provided on the clay packaging for optimal results.
Setting the Correct Temperature
Setting the correct temperature is crucial for baking Sculpey Oven Bake Clay. Most Sculpey products require a temperature of 275°F (135°C), but always check the package instructions for specific guidelines. Use an oven thermometer to ensure accuracy, as home ovens may vary. Place the thermometer near the clay to monitor heat distribution. Preheating the oven to the recommended temperature before baking ensures even curing and prevents undercooking or warping. Avoid deviations from the suggested temperature to achieve optimal results. Proper temperature control is essential for durable, professional-looking finishes.
Baking Time and Thickness Guidelines
Baking time for Sculpey Oven Bake Clay depends on the thickness of the piece. A general rule is to bake at 275°F (135°C) for 15 minutes per 1/4 inch of thickness. For example, a 1/2-inch thick piece requires 30 minutes. Always check the package for specific instructions, as different Sculpey lines (e.g., Sculpey III, Super Sculpey) may vary slightly. Use an oven thermometer to ensure accurate temperature. Longer baking times at the correct temperature can enhance durability without harming the clay. Monitor thickness carefully to avoid undercooking or overcooking. Proper timing ensures the clay cures evenly, resulting in a strong, durable finish. Always follow guidelines for best results.
Monitoring the Baking Process
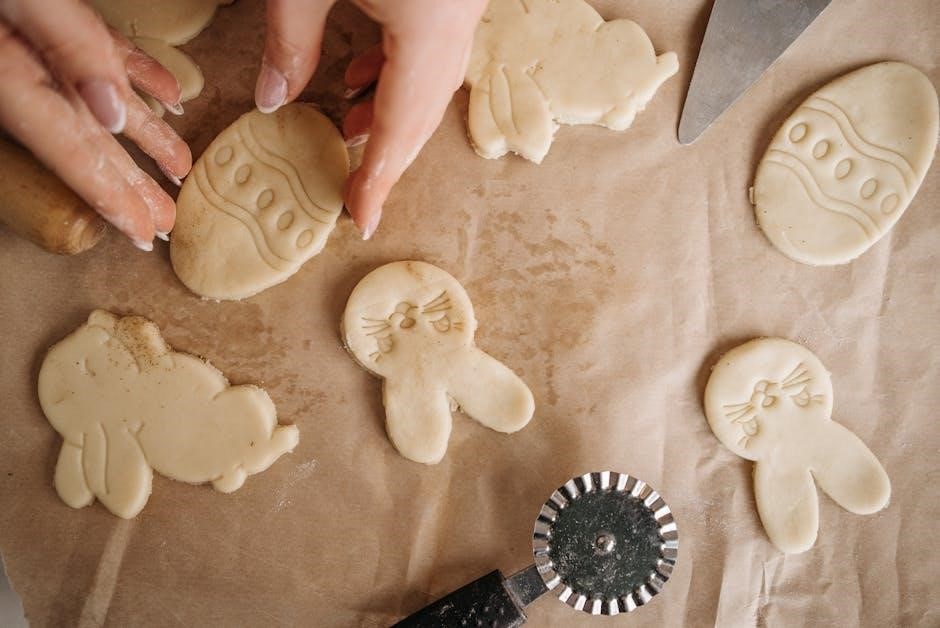
Monitoring your Sculpey Oven Bake Clay while it bakes is crucial to ensure proper curing. Place an oven thermometer near the clay to verify the temperature accuracy. Avoid opening the oven door frequently, as this can cause uneven baking or warping. If necessary, check through the oven window. Covering the clay with a tented piece of aluminum foil can prevent warping and promote even curing. After baking, allow the piece to cool completely before handling. If unsure, test by gently pressing the cooled clay; it should feel hard and unyielding. Proper monitoring ensures your creation bakes evenly and avoids overcooking or undercooking. This step is essential for achieving durable, professional-looking results.
Post-Baking Care
After baking, allow Sculpey clay to cool completely before handling to prevent warping. Store baked pieces in a clean, dry place. Avoid exposure to moisture or extreme temperatures to maintain durability. For stuck clay, gently scrape it off with a tool. Use isopropyl alcohol or baby oil to clean residue from hands or surfaces. Proper care ensures your creations remain intact and retain their vibrant appearance over time.
Cooling Down the Clay
After baking, allow Sculpey clay to cool completely on a heat-resistant surface. This prevents warping or cracking. Avoid handling the clay until it reaches room temperature, as it may break or bend. For even cooling, place the piece on a cooling rack or parchment paper. Once cooled, the clay is ready for finishing touches or storage. Proper cooling ensures the piece retains its shape and durability. Never rush the cooling process, as improper handling can damage the creation. Store cooled pieces in a dry, cool environment to maintain their condition and appearance. This step is crucial for achieving professional-looking results with Sculpey Oven Bake Clay.
Handling and Storing Baked Pieces
Once cooled, handle baked Sculpey pieces gently to avoid cracks or breaks. Store them in a cool, dry place, away from direct sunlight, to preserve their color and shape. Avoid exposing baked clay to extreme temperatures or moisture. For storage, place pieces in a protective covering like a soft cloth or plastic bag to prevent dust buildup. Clean hands before handling to avoid transferring oils or dirt. For delicate items, use a padded container to prevent damage. Proper storage ensures your creations remain intact and vibrant. Regularly inspect stored pieces for signs of wear or damage. With careful handling and storage, Sculpey Oven Bake Clay projects will remain durable and long-lasting.
Tips for Avoiding Cracks and Breaks
To prevent cracks and breaks in Sculpey Oven Bake Clay pieces, ensure even thickness and avoid sudden temperature changes. Use a thermometer to maintain the correct oven temperature, as fluctuations can weaken the clay. Avoid overworking the clay before baking, as this can create stress points. If the clay feels too soft, let it rest for a few minutes. When shaping, use tools like rolling pins or pasta machines to achieve uniform thickness. Cover the clay with a tented piece of foil during baking to prevent uneven curing. After baking, allow the piece to cool completely on a heat-resistant surface before handling. For thin or delicate pieces, place a card underneath to prevent warping. By following these tips, you can create durable, crack-free designs that last.
Troubleshooting Common Issues
Common issues with Sculpey Oven Bake Clay include undercooked or overcooked pieces. Adjust baking time and temperature as needed, ensuring even thickness to prevent warping or cracking.
Undercooked or Overcooked Clay
Undercooked Sculpey clay may remain soft or bendable, while overcooked clay can become brittle or discolored. To avoid these issues, ensure accurate oven temperature using a thermometer. Bake at 275°F (135°C) for 15 minutes per 1/4 inch of thickness. For thicker pieces, increase baking time gradually. If undercooked, re-bake without exceeding temperature limits. Overcooked clay can’t be repaired but can sometimes be sanded gently. Always follow package instructions and test thickness before baking to achieve perfectly cured pieces.
Uneven Baking and Warping
Uneven baking and warping can occur due to inconsistent oven temperature, uneven thickness of the clay, or improper cooling. To prevent warping, ensure the clay is baked on a heat-resistant surface like a glass tile or ceramic sheet. Avoid placing clay near oven walls or windows, as hot spots can cause uneven curing. If warping occurs, allow the piece to cool completely before gently reshaping it. For severe cases, re-bake at 275°F (135°C) for a shorter time, ensuring even heat distribution. Always use an oven thermometer to monitor temperature accuracy and avoid sudden temperature changes during cooling.
Dealing with Stuck or Burnt Clay
If clay sticks to surfaces, let it cool completely before gently prying it loose with a tool. For burnt clay, avoid scraping, as it may damage the piece. Instead, sand lightly once cooled. Prevent sticking by using a non-stick mat or parchment paper. Ensure accurate oven temperature with a thermometer to avoid burning. If clay is slightly overcooked, it may still be usable, but severely burnt pieces should be discarded. Proper ventilation is essential when handling burnt clay to avoid inhaling fumes. Always follow baking instructions and monitor the process to prevent such issues. Regularly cleaning and maintaining your oven can also help minimize the risk of burnt clay.
Advanced Techniques
Explore advanced methods to enhance your Sculpey creations, such as layering, blending colors, and adding textures. Use tools like toothpicks for intricate details and baby oil for smooth finishes.
Creating Multi-Layered Designs
Multi-layered designs with Sculpey Oven Bake Clay involve building up layers of clay, allowing each to bake separately before combining. Start with a base layer, bake at 275°F for the recommended time, then add subsequent layers, ensuring each is securely attached using adhesives like Sculpey Bake & Bond. This technique prevents warping and ensures structural integrity. For intricate details, use toothpicks or small tools to blend colors or textures between layers. After final assembly, bake the entire piece to fuse all parts together, creating a sturdy and visually appealing design. This method is ideal for complex projects like miniatures or jewelry, offering endless creative possibilities.
Using Adhesives for Bonding Clay Pieces
For bonding Sculpey Oven Bake Clay pieces, adhesives like Sculpey Bake & Bond are ideal. Apply a small amount to one piece and press firmly onto the other. Bake at 275°F for 15 minutes to fuse. This adhesive is oven-safe and ensures a strong bond. For post-baked pieces, silicone-based glues or epoxy work well. Apply sparingly to avoid weakening the structure. Liquid clay can also act as an adhesive when baked. Always test adhesives on small pieces first to ensure compatibility. Proper bonding enhances durability and allows for intricate, multi-piece designs. Follow package instructions for best results and avoid excess adhesive to prevent fragile spots. This method is perfect for jewelry, ornaments, or complex sculptures requiring stability.
Adding Finishes and Sealants
To enhance and protect your Sculpey Oven Bake Clay creations, consider adding finishes and sealants. After baking, apply varnish or acrylic sealers for a protective layer. For a glossy finish, epoxy resin or polyurethane varnish works well. Mod Podge is a popular choice for sealing and can be applied with a brush. For jewelry, opt for a strong, non-toxic sealant like resin or a specialized polymer clay sealer. Always choose heat-resistant options if exposure to heat is expected. Experiment with matte or glossy finishes based on your desired texture. Apply finishes in thin coats, allowing each to dry before adding more. Ensure the products are safe for skin contact if making jewelry. Research recommended products and tutorials for specific techniques and safety guidelines.
Safety Precautions
Always preheat your oven and use an oven thermometer for accurate temperature. Ensure proper ventilation to avoid inhaling fumes. Protect surfaces with a heat-resistant mat or parchment paper. Avoid overheating, as it can cause burns or damage. Keep clay and tools away from children and pets. Wear gloves if sensitive to polymer clay. Follow all package instructions carefully for safe handling and baking.
Important Safety Tips for Baking Clay
When working with Sculpey Oven Bake Clay, prioritize safety to ensure a successful and hazard-free experience. Always preheat your oven to the recommended temperature, using an oven thermometer to verify accuracy. Proper ventilation is crucial to avoid inhaling fumes, so bake in a well-ventilated area. Protect your work surface with a heat-resistant mat or parchment paper to prevent damage from heat. Never leave the oven unattended while baking clay, and keep children and pets away from the oven and clay pieces. Avoid overheating, as it can cause burns or damage to the clay. If you have sensitive skin, consider wearing gloves when handling raw clay. Follow all package instructions carefully, as different Sculpey products may have specific safety guidelines. By adhering to these precautions, you can enjoy a safe and creative crafting process.
Proper Ventilation and Workspace Setup
Ensuring proper ventilation and a well-organized workspace is essential when working with Sculpey Oven Bake Clay. Always bake in a well-ventilated area to prevent inhaling fumes, which can be harmful. Open windows or use an exhaust fan to maintain airflow. Place an oven thermometer inside your oven to ensure accurate temperature readings, as overheating can release harmful vapors. Cover your work surface with parchment paper, a silicone mat, or a heat-resistant cloth to protect it from heat and clay residue. Keep the area clean and free from clutter to avoid accidental contamination of your clay. Use a dedicated baking sheet for clay projects to prevent cross-contamination with food. Finally, avoid baking in poorly ventilated or enclosed spaces, and consider using a smoke detector nearby for added safety. Proper workspace setup ensures a safe and enjoyable crafting experience.
Protecting Skin and Surfaces
Protecting your skin and work surfaces is crucial when handling Sculpey Oven Bake Clay. To prevent clay residue from sticking to your skin, lightly wash hands with soap and water or use baby oil and wipes after handling. For added protection, wear disposable gloves if you have sensitive skin. Cover your work surface with parchment paper, a silicone mat, or a heat-resistant cloth to prevent clay from adhering and to make cleanup easier; Avoid placing baked clay directly on unprotected surfaces, as it may leave marks or damage finishes. Use a dedicated baking sheet for clay projects to avoid cross-contamination with food. These precautions ensure your skin stays clean and your surfaces remain unharmed, making your crafting experience safe and enjoyable.
Mastering Sculpey Oven Bake Clay opens endless creative possibilities. With proper techniques and precautions, you can craft durable, beautiful pieces for years of enjoyment and inspiration.
Final Tips for Successful Baking
For optimal results with Sculpey Oven Bake Clay, ensure accurate temperature control using an oven thermometer. Cover clay with paper to prevent shiny spots and avoid overheating. Bake at 275°F, as higher temperatures can damage the clay. To achieve even curing, maintain uniform thickness in your pieces. Use a baking mat or parchment paper to prevent sticking. Always follow package instructions for specific lines, like Sculpey III or Super Sculpey. For thick pieces, bake longer at the recommended temperature rather than increasing heat. Proper ventilation is essential to avoid fumes. Experiment with techniques like layering or finishes after baking for enhanced results. With patience and these tips, you’ll achieve professional-looking, durable creations every time. Happy crafting!
Encouragement for Creative Projects
Embrace your creativity with Sculpey Oven Bake Clay! This versatile medium allows you to craft unique jewelry, miniatures, home décor, and more. Don’t be afraid to experiment with colors and techniques to create personalized designs. Whether you’re a seasoned artist or a beginner, Sculpey’s ease of use makes it accessible to everyone. Try mixing colors for marbled effects or layering pieces for intricate details. Share your creations with friends or gift them as meaningful keepsakes. Join online communities for inspiration and tips to refine your skills. Remember, every project is a chance to learn and grow. Let your imagination guide you, and enjoy the satisfaction of seeing your ideas come to life with Sculpey Oven Bake Clay. Happy crafting!

